Contributed by Bitter Bubblegums
If you haven’t already, do read my previous post about backpacking New Zealand solo when I was just nineteen. And because I’ve been receiving some emails/messages about this, here’s a summarised expenditure breakdown and some tips for my 14 days in New Zealand’s South Island, from the perspective of a Singaporean who was backpacking solo.
Hopefully, this information is will be able to help other aspiring travellers who are considering visiting the South Island while on a budget! It’s not the best and I’m pretty sure there are many other travel writers around who have shared their experiences, but I hope mine’s useful as well!
Here’s my expenditure breakdown for two weeks in New Zealand:
Accommodation: SG$430
Transport (backpacker bus): SG$269
Food: SG$120
Miscellaneous (shampoo, SIM card, etc.): SG$80
Total: SG$899
I spent about SG$64/day for food, accommodation, transport and other basic necessities. You can definitely save more on the accommodation if you camp outdoors, try Couchsurfing, farm stays or WWOOFing. More about that as you read on.
Here are some tips on backpacking New Zealand’s South Island:
1. Get a good backpack and pack light
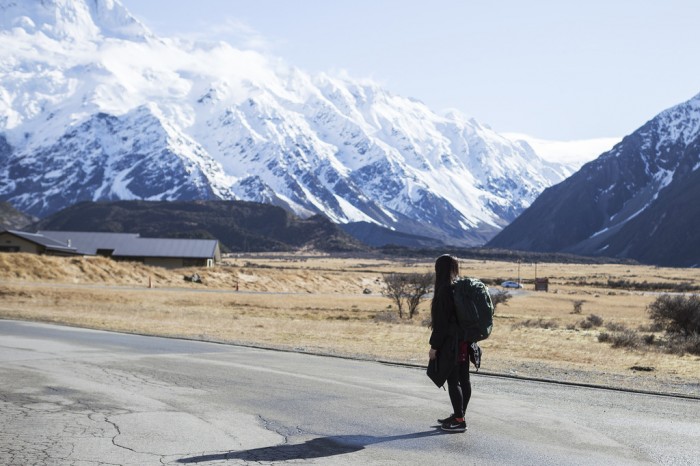
When you’re rushing for your next bus/train in the freezing cold, what do you want on your back?
Pack only the essentials and get yourself a good backpack to save yourself from the shoulder and backaches that may come from the long impending walks. It may be pretty costly, but it’s going to be worth the pain it saves you.
I spent SG$128 on my 40L backpack which I bought from Bonkers Link in Queenstown Shopping Centre. I would recommend any newbie to visit this store because the friendly staff will listen to your needs and suggest the best backpack for your itinerary. The uncle in store taught me how to use the backpack too!
My bag was super spacious and fits my back just comfortably despite its load. I could carry all my stuff with me for hours and not feel like my back’s breaking.
2. Try everything for accommodation
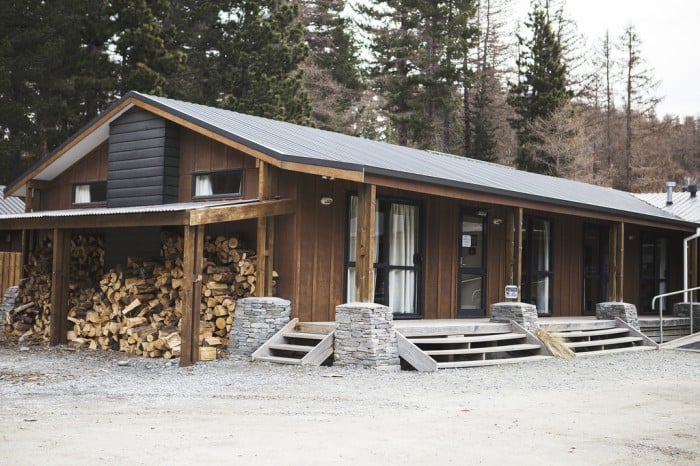
i. Backpacker hostels or inns
This will probably be the most popular option for backpackers, simply because it’s affordable and has all the facilities you need. A bed in a dorm will generally cost you about NZ$28–$34. Most hostels are also conveniently located in the heart of the town/city, which makes many tourist attractions and trekking spots easily accessible. Many inns also have bus stops for backpacker buses right outside.
Based on my personal experience, the most popular few would be YHA and Base. YHA has the best wifi at no extra cost, but they may be a dollar a two more costly than the other hostels. Well, I would pay $1 to $2 more just for good wifi.
ii. WWOOFing and Farm Stays
WWOOFing and farm stays are also pretty popular options, but more for travellers who are staying in New Zealand for a longer period of time, or are on a working holiday visa. The general idea of WWOOFing is for volunteers to commit a few hours of their time doing some farm work, in exchange for a place to stay (and maybe some food).
I attempted to look for farm stays during my trip but I wasn’t so lucky. Most farmers prefer to host volunteers who are staying for longer periods of time, since it takes some time for them to teach newbies the ropes of farm work and what not. Given my itinerary, a farm stay wasn’t really favourable. But if you’re travelling for a month or so, definitely give WWOOFing or farm stays a try! I would have if I had more time to spare.
iii. Couchsurfing
I have not Couchsurfed before so I can’t vouch for it, but the Couchsurfing community in New Zealand is pretty extensive. If you’re looking to save on accommodation by living with a local, give this a go. From what I know, though, it’s now a little harder to use this platform if you have not been actively hosting in your own country, or participating in gatherings/meetings. The reviews on your profile are important for someone to decide if they want to host you or not, so you might want to start being active on Couchsurfing before your travel.
iv. Camping out
Get a tent and camp outdoors. New Zealand has many leisure/adventure/recreational parks that give you a camping ground with shower and cooking facilities for a small fee. It works if you have a caravan or car too.
If you don’t need the cooking facilities or could do a couple of days without shower, consider camping out in the wild. Be wary, though, as some areas are dangerous during rainy seasons and may not be permitted.
3. Getting around without public transport
i. Backpacker Buses
With the exception of Christchurch, there are not many public transport connections available in the other parts of New Zealand’s South Island. So if you’re thinking of travelling out to Tekapo, Mount Cook or other scenic spots, the best option would be to self-drive.
But if you’re like me, without a driver’s license, backpacker buses are your saving grace. There are many backpacker bus companies, such as Intercity, Nakedbus and Kiwi Experience, to name a few. Pick the one which suits your itinerary best.
I chose Intercity because it gave me the flexibility to plan my own routes with their Flexipass. All I had to do was make a booking one day in advance and schedule the bus to pick me at Bus stop A and drop me off at Bus stop B! The pass comes with a certain number of hours on the bus (I got the 30-hour one at $239), and Intercity works in such a way that hours are deducted based on the travelling time you spend on the bus. Selective tours and thrill rides are also payable via the pass, and all their buses are equipped with wifi!
From what I know, Nakedbus is cheaper and is payable each time you ride. However, it does not provide wifi, tours or guides (hence the term “naked” – you’re given the bare minimum). If you’re a super budget traveller with no need for Internet connectivity, this might be the best option for you.
ii. Hitchhiking
Because the land is so vast, it’s impossible to walk from town to town without taking hours. Sometimes, the best and cheapest way to get around is to simply hitchhike. I wish I had done this earlier for my trip and spent lesser on my Intercity pass.
In New Zealand, hitchhiking is almost an everyday affair. You’ll always see backpackers hitching, and many drivers who are more than willing to pick you and drop you off along the way – if your destination is also where they’re heading to. I hitchhiked twice while I was in New Zealand, once with two other travellers and another alone. When I was alone, the driver who picked me up was a local hunter with a huge hunting dog at the backseat. It was a little intimidating at first but I don’t regret it at all – the hunter was super friendly and I got to know more about New Zealand from a kiwi!
The drivers who are giving you a ride are probably as scared as you – you’re a stranger too. You should hitchhike with caution, but don’t let your paranoia get in the way of your travel experience.
4. Pick up cooking
Eating out is ridiculously expensive in Western countries. Each meal could cost you an average of more than NZ$10, and they aren’t always necessarily worth the bill. When I went to the supermarket, NZ$5 could get me a pack of pasta, canned tuna and sauce that could last me a day or two.
Besides, if you’re going up to the mountains, there isn’t going to be any cafes/restaurants around so you only have your chef skills to depend on. Oh and one more thing, stock up on your groceries whenever you can, especially if you’re going to head up to the mountains. Some places are so sparsely populated, there isn’t even a supermarket in town.
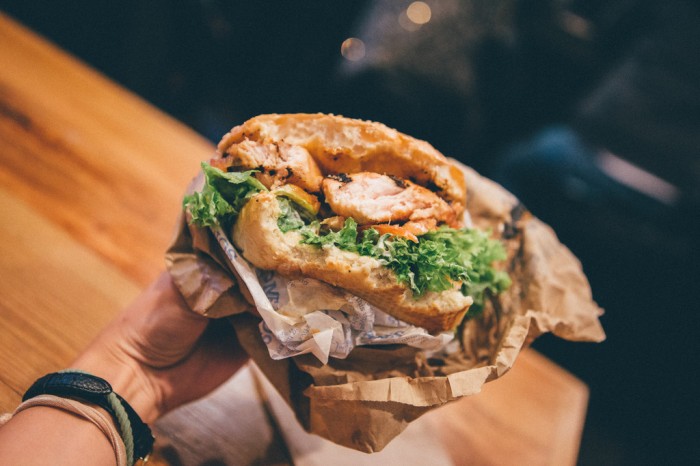
While I scrimped a lot on food, I still allowed myself to have a couple of good meals in the popular towns because what’s travelling if you can’t try some of their famed local delicacies, right? Ultimately, save on your meals when you can. You don’t need that extra serving of meat or overpriced bottle of pressed juice. Splurge only when it’s worth (which reminds me – you should really try the Fergburger in Queenstown)… but I’ll admit, I have no discipline with it comes to their ice cream.
5. You don’t need a SIM card
Lastly, you don’t need a SIM card. I got one at Christchurch airport at NZ$39 under Spark, but realised I really didn’t have much use for it.
If you’re planning to head up to the scenic sites and mountains a lot, chances are, you won’t get any service or reception while you’re there. And even if you do have reception in the more populated areas such as Wanaka and Queenstown, there are many cafes and spots around that provide free wifi.
Alternatively, you could book transport and accommodation that provide you with free wifi. No point getting a SIM card when you can hardly use it while you’re out hiking anyway.
Also read: 15 Things to Do in New Zealand’s South Island
Anyway, this has been a super long post.
If you have any other questions about my New Zealand trip that was left unanswered, feel free to drop me a message. You can find my contact details on my blog.