Taking gorgeous travel images has never been easier, what with all the advancements in smartphone photography and the amazing technology at our fingertips. We’re firm believers that you don’t have to spend thousands of dollars to get the best travel shots and in this article, we’re going to break down the basics for beginners looking to take Insta-worthy vacation snaps.
1. Find the best lighting
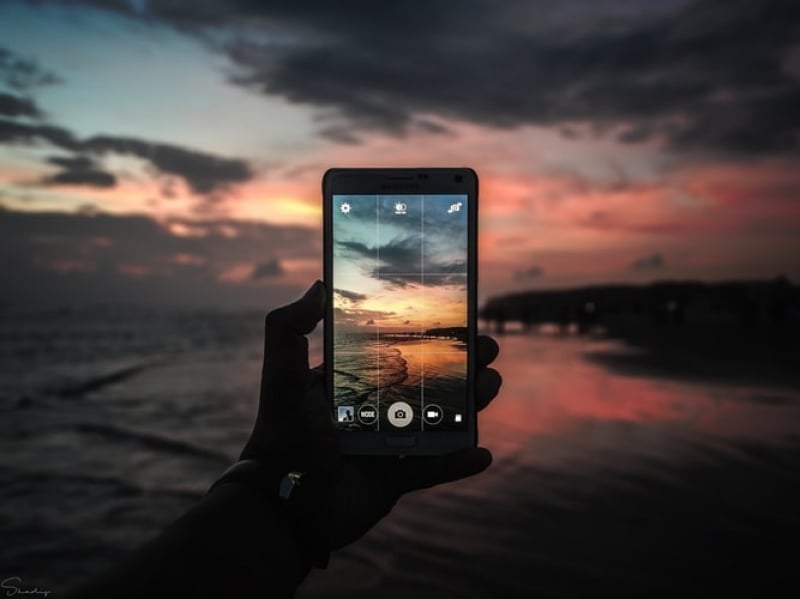
The best travel images rely on a combination of factors, such as composition, colour and lighting. Composition and colour are two factors that you can generally alter to a certain degree after the image is taken, but lighting is far trickier to artificially manipulate, which means you’re at the mercy of the sun if you want to get the best vacation shots.
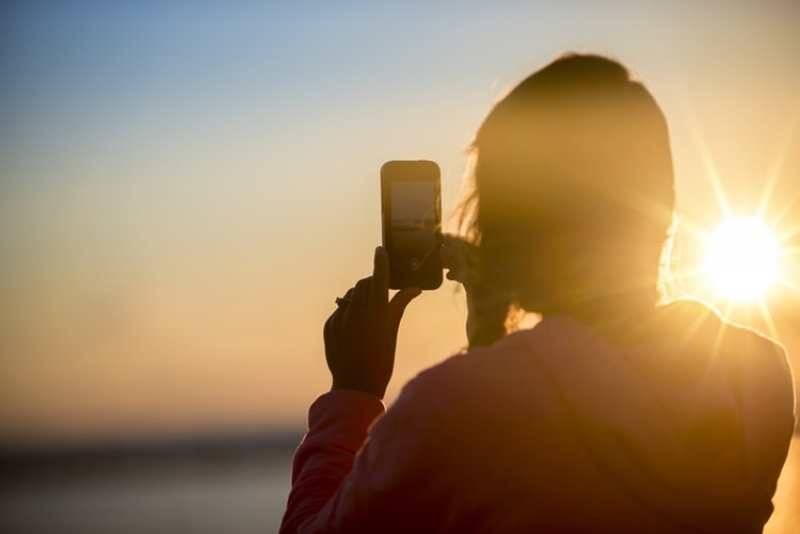
2. Take photos during ‘golden hour’
A good rule of thumb is to seek out soft light, usually around golden hour. Golden hour simply refers to the short window of time before sunset and just after sunrise when the sun casts a warm glow. Compare this with the often harsh lighting in the middle of the day and you’ll find that pictures shot during golden hour have a far more appealing quality to them than travel shots taken in harsh daylight. Wake up early for those sunrise shots, and wait until sunset to get that warm, ethereal glow – it’s totally worth it.

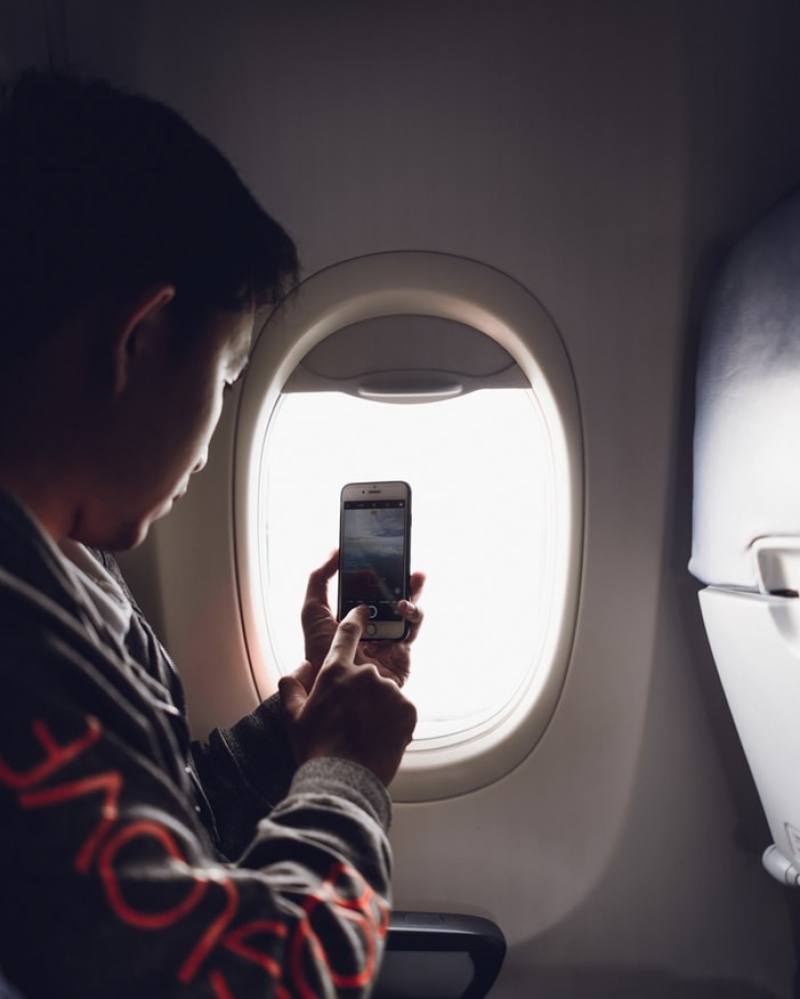
3. Know your camera
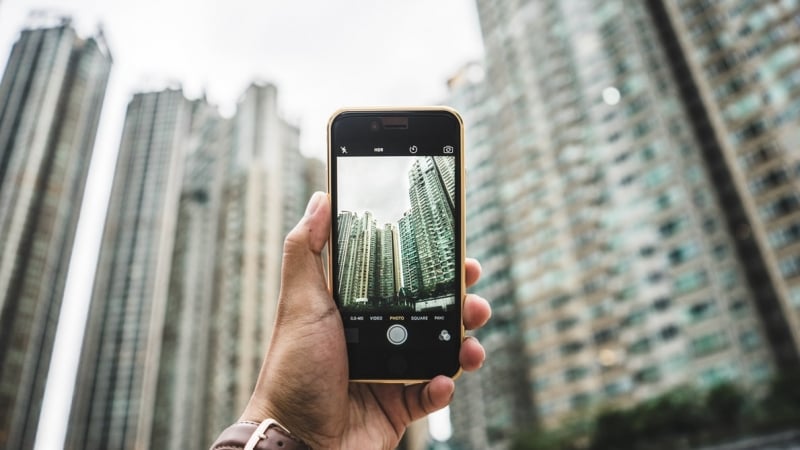
We are fortunate to live in an era where a device that fits in our pockets is capable of taking jaw-droppingly vivid images. With most of the guesswork being taken out of travel photography through clever smartphone software, it can seem easy to simply point and shoot your camera at any subject you deem interesting. Scratch a little deeper, however, and you’ll find a raft of features that could upgrade your travel photography in an instant.
For starters, it helps to understand how the HDR mode works on your phone. HDR, or High Dynamic Range, simply refers to how much shadow detail your smartphone camera captures. If you’re shooting in especially bright conditions, it’s always a good idea to leave this mode on so that you capture richer details and get better travel images.
New smartphones also ship with ultra-wide cameras which opens up your shooting possibilities and can allow you to get some creative perspectives on your next vacation.
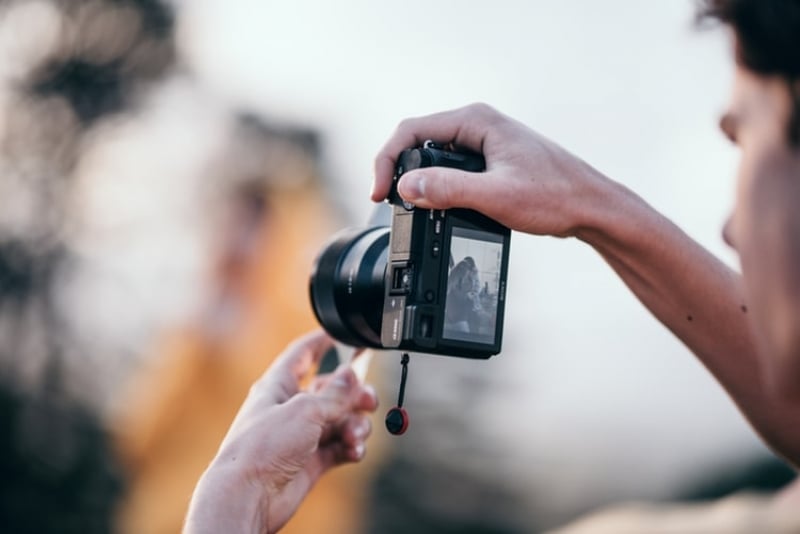
4. Smartphones vs. a Point-and-Shoot?
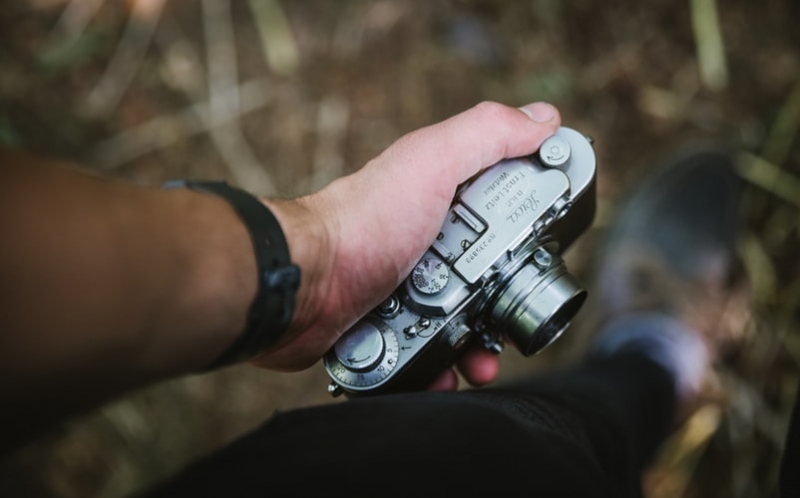
If you’re interested in creating a digital archive of your images or you’re concerned about the image quality coming from your smartphone, it’s a good idea to consider getting a compact point-and-shoot camera. What sets these cameras apart from smartphones is their sensors. Regular smartphone sensors are around 1/2.3 inches in size, but compact cameras sport substantially larger 1-inch sensors, which means that you get better lowlight performance with fewer noise artefacts in your image.
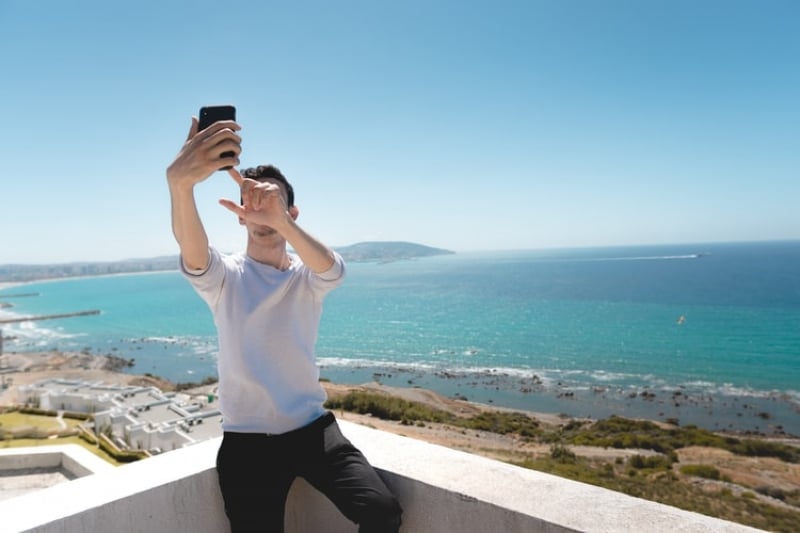
5. Taking portraits vs taking landscapes
Okay, let’s be honest here. If you’ve spent months working on that summer body then you’re probably going to want to feature in front of the camera. Bonus points if you can use the portrait mode on your phone camera, as this makes for pretty flattering shots and gives you full rights to flex on the ‘Gram. The best travel portraits are those that provide the viewer with a sufficiently wide frame of the surroundings while making the subject the focal point of the picture.
If you’re less interested in taking photos of people, then it’s good to follow a few rules of thumb for shooting landscape photos. Remember to always keep your horizon level and ensure that the entire plane of field is in crisp, sharp focus. Try to create a defined foreground, mid-ground and background for maximum visual interest and keep the Rule of Thirds in mind when you’re composing your shot.
6. Get creative with your editing
Editing is the secret sauce that adds that little bit of flavour to your travel shots. Even though your smartphone already produces some superb results without any alterations, simply adding some basic colour correction with a built-in photo editor or third-party app can take your travel shots to the next level. Once you’ve mastered the basics you can also work on creating your own signature editing style by altering settings like the colour temperature, white balance and adding effects like grain for a nostalgic, film-inspired look.
Photo-editing apps can also help you perfect your composition by giving you the option to crop in a variety of different sizes – ideal for when you need to post your shots to different platforms. As a rule of thumb, a 9×16 aspect ratio works best for Instagram Stories while the Instagram Feed favours images in a 5×4 aspect ratio.
7. Just go shoot!
At the end of the day, all of these tricks and tips mean very little if you don’t get out there and practice. Start on your next jaunt and shoot whatever takes your eye, even if it seems mundane. You’ll look back on your travel shots and improve every time you whip your smartphone out to shoot. Before you know it, you’ll have people inboxing you to find out your secrets to getting the best travel snaps.
Give these travel photography techniques a try on your next trip and see how you fare. Remember to tag TripzillaShare on all your destination images – your stunning shots could be featured on our social profiles!