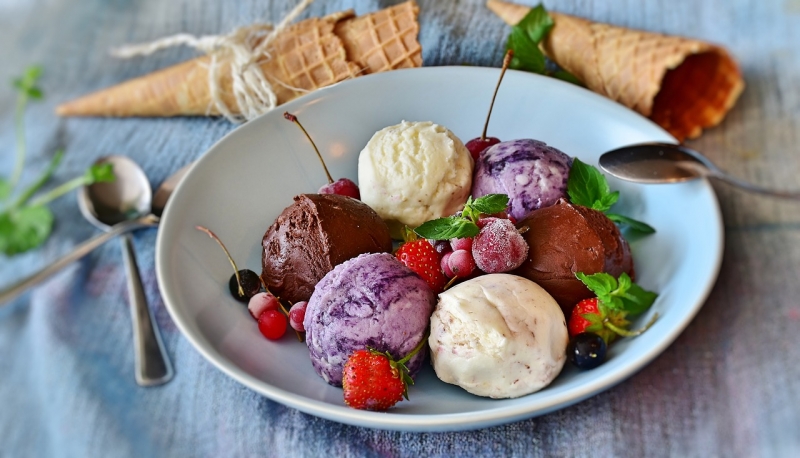
If you’ve clicked on this article, then you’ve probably faced the same dilemma that so many ice cream lovers have struggled with countless times in the past: freezer burn. Yup, that’s the term for when your frozen meat and ice cream have become dehydrated inside your freezer, so much so that crunchy icy crystals have formed on the surface of these frozen goods. But lucky for us, the famous ice cream manufacturer Ben & Jerry’s has recently come to everyone’s rescue by sharing tips on how to avoid freezer burn! So if you want to fully enjoy a good tub of ice cream, listen up. Here’s what Ben & Jerry’s has to say!
Also read: 20 Delicious Japanese Ice Creams and Popsicles You Must Try
1. The best temperature for ice cream is below 0°F
Don’t be afraid to put your freezer thermometer below 0°F. If you find it difficult to read your thermometer, set it to the coldest temperature possible. If you find that your ice cream’s too hard when you take it out, just leave it on a table for a few minutes to soften. Don’t ever microwave your ice cream because this ruins the consistency of that creamy goodness. What’s more, push your ice cream tub all the way back in your freezer to avoid warm air seeping through whenever you open it.
2. Cut the crystallised top layer with a knife
This only works if your ice cream container is made out of paper like the Ben & Jerry’s ice cream tub. If this is the case, get a serrated knife to cut the upper part of the container with the ice cream still inside. With this, you can use the remaining tub container as a bowl to eat the undamaged ice cream that was lying beneath the crystallised top layer. It’ll be as if the freezer burn never happened!
3. Seal your container with paper or plastic wrap
Freezer burn also happens due to air exposure, so take extra precaution and cover the rim of your ice cream container with parchment paper before you put the lid back on. You can even just wrap the whole container with a plastic bag when you return it to the freezer. That will definitely ensure that you get the best version of your ice cream for your dessert!
4. Turn the container upside down
Another cause of freezer burn is refreezing partially melted ice cream. If you think refreezing that liquid goo just by putting it back in the freezer like normal is going to bring back your ice cream to its former glory, think again. That will just trigger more crunchy crystals to form on the surface. So, what you can do is to flip your container upside down with a tightly closed lid before refreezing. Your melted ice cream will drip onto the lid where it can refreeze properly without affecting the consistency or texture of your ice cream!
Also read: Artisanal Ice Cream Places in Hong Kong to Satisfy Your Sweet Tooth
And there you go, a few tips from American favourite Ben & Jerry’s to make your ice cream experience absolutely enjoyable and refreshing. With this, we hope your freezer burn days have come to an end. What are you waiting for? Time to scream for your ice cream!