
Hiking Mt. Pulag (via Ambangeg Trail) Without a Tour Guide – A 3D2N Itinerary
Climb the highest mountain in Northern Luzon, Mt. Pulag, without a guide. This itinerary written by a Malaysian hiker will help your trip planning.
You can organise a budget-friendly Mt. Pulag adventure independently — but every climb still requires advance registration, a fit-to-climb medical certificate and an accredited local guide.
It all started while I was researching mountains for my backpacking trip around the Philippines. Among the country’s many peaks, Mt. Pulag immediately caught my attention. Watching the sunrise above its famous sea of clouds sounded like an experience worth travelling for.
Standing approximately 2,928 metres above sea level, Mt. Pulag is the highest mountain in Luzon and the third-highest peak in the Philippines. It is also known for its changing landscapes: Hikers pass through pine forest, mossy forest and rolling grassland on the way to the summit.
As a budget-minded backpacker, I wanted to arrange the trip myself instead of joining a packaged tour. This is still possible, but a DIY climb does not mean entering the mountain alone. Hikers must reserve a slot, register with the park, complete the required orientation and climb with an accredited local guide.
I chose the Ambangeg Trail because it is Mt. Pulag’s most accessible route and generally the best option for first-time climbers.
How much should you budget?
Prices have changed considerably since my original climb, so it is better to build your budget around the following expenses:
Return bus tickets between Metro Manila and Baguio
Transport from Baguio to the DENR Visitor Centre and Babadak Ranger Station
Park registration, barangay and environmental fees
Accredited local-guide fee
Homestay or authorised campsite accommodation
Tent and sleeping equipment, if camping is permitted
Meals, drinking water and trail snacks
Optional porter service
Transport back to Baguio
Guide charges are normally shared among the members of a small group, making the climb more affordable if you travel with friends. Foreign visitors may also pay a different park fee from Filipino citizens.
Confirm every charge directly with the Mt. Pulag Protected Area Management Office or your registered accommodation before travelling. Do not rely on old online budgets, contact numbers or fee tables.
Before the climb
Reserve your climbing slot well in advance, particularly if you plan to visit on a weekend, public holiday or during the popular dry-season months.
You will generally need:
A valid passport or government-issued ID
A medical certificate stating that you are fit to climb
A confirmed climbing slot
Completed registration and waiver forms
Payment for the applicable park and community fees
An accredited local guide
Confirmed accommodation or an authorised campsite booking
Ask the park office whether camping is permitted on your chosen date. Camping arrangements can depend on the day, trail conditions and current park rules. If camping at Camp 1 or Camp 2 is unavailable, stay in a homestay near Babadak Ranger Station and begin the summit hike before dawn instead.
Day 1: Manila → Baguio
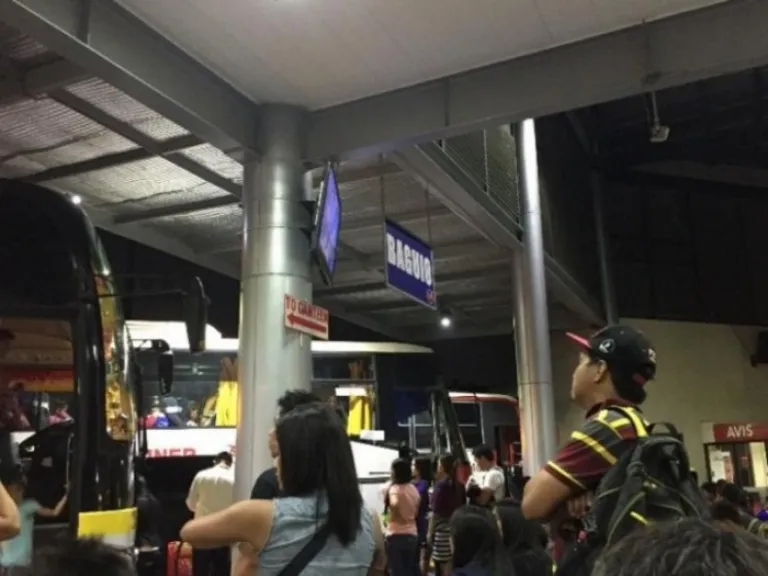 Pasay Terminal, Manila
The adventure begins with an overnight bus from Metro Manila to Baguio.
Several bus services operate on this route, with departures available from terminals such as Pasay and Cubao. Reserve your seat online or at the terminal, especially when travelling over a weekend. Journey times vary with traffic, so allow approximately five to seven hours and avoid planning a tight connection in Baguio.
An overnight departure should get you to the city early the following morning. Try to rest during the journey — the next day involves several more hours on mountain roads.
Day 2: Baguio → Bokod → Mt. Pulag National Park (DENR office) → Babadak Ranger Station
After arriving in Baguio, have breakfast and meet your pre-arranged driver or board suitable public transport towards Bokod.
Transport arrangements in this area can change, so confirm the departure point and final drop-off before the trip. A pre-arranged van or four-wheel-drive transfer is the simplest option, particularly for a group carrying hiking equipment.
Your first official stop must be the DENR Visitor Centre or Protected Area Office. Do not travel straight to the trailhead and expect to register there.
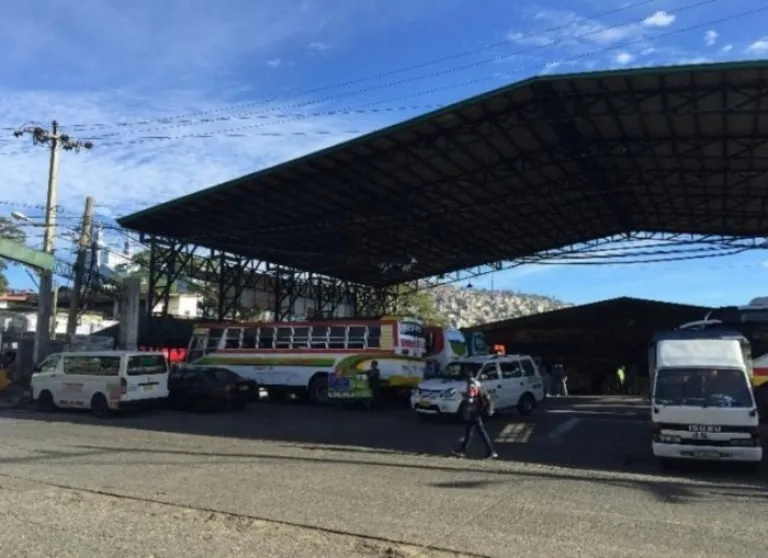
A-Liner Bus Terminal (Old Slaughter House), Baguio
At the visitor centre, hikers register, present their medical certificates, pay the relevant fees and attend an environmental and safety orientation. The briefing covers park regulations, responsible hiking and the importance of protecting Mt. Pulag’s fragile ecosystems.
Allow extra time for this process. Weekends can be especially busy.
From the visitor centre, continue by authorised local transport to Babadak Ranger Station, the main entry point for the Ambangeg Trail. This is where you will meet your assigned local guide and settle any remaining community, accommodation or equipment charges.
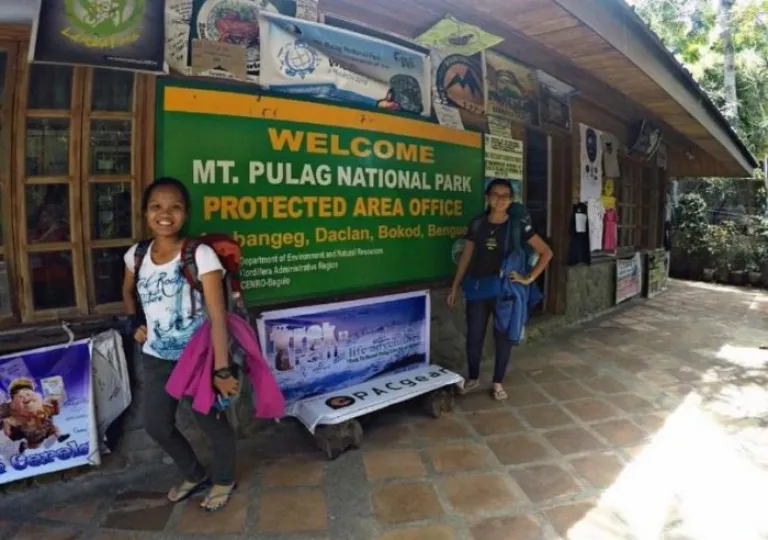
Registration and briefing session at Mt. Pulag National Park before hiking
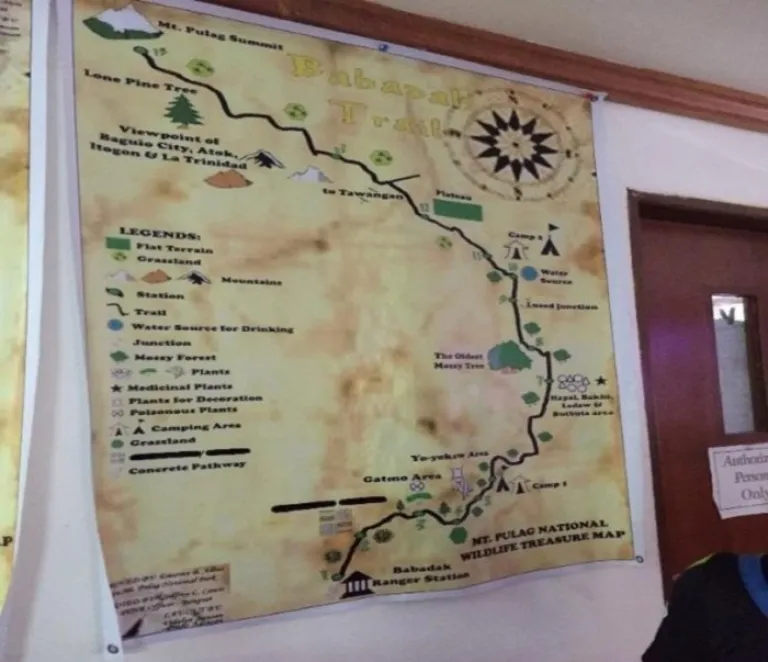
Mt. Pulag hiking trail
If camping is authorised
You may begin hiking towards your assigned campsite in the afternoon. The Ambangeg Trail climbs gradually through pine forest before entering the cooler, atmospheric mossy forest.
As the trees thin out, the scenery changes again and the mountain’s open grassland begins to appear. Depending on your pace, weather and assigned campsite, the walk can take several hours.
Carry only the equipment you need. Leave unnecessary luggage securely at your accommodation or the ranger station, and hire a porter if your camping pack is too heavy.
Set up camp early, eat before darkness falls and prepare your clothes and headlamp for the summit push. Temperatures can fall dramatically overnight, while strong winds can make conditions feel even colder.
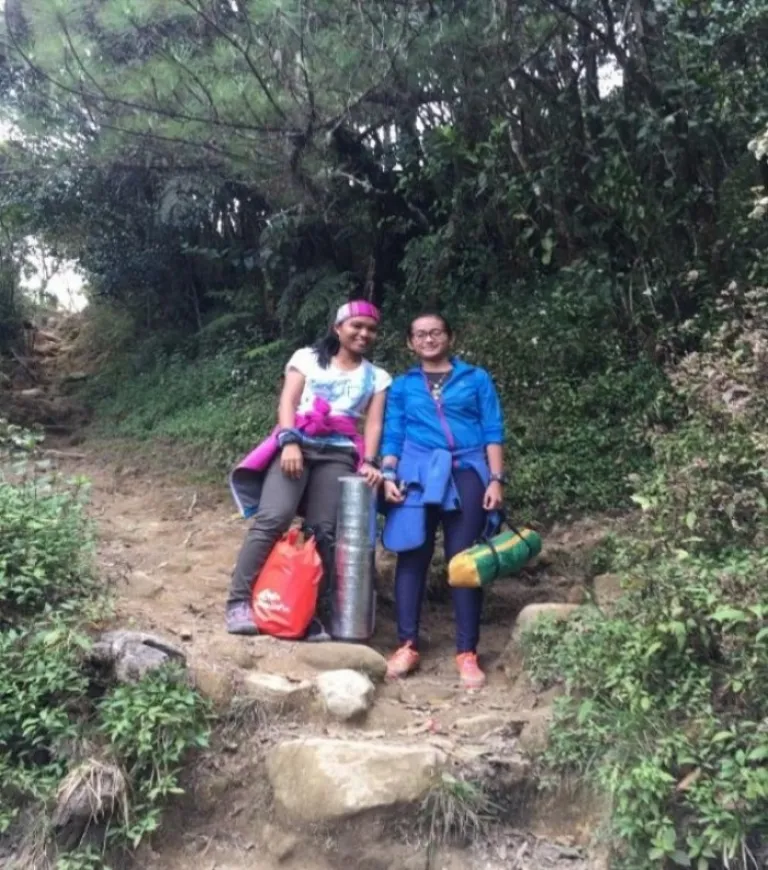
First stage of forest: pine trees area
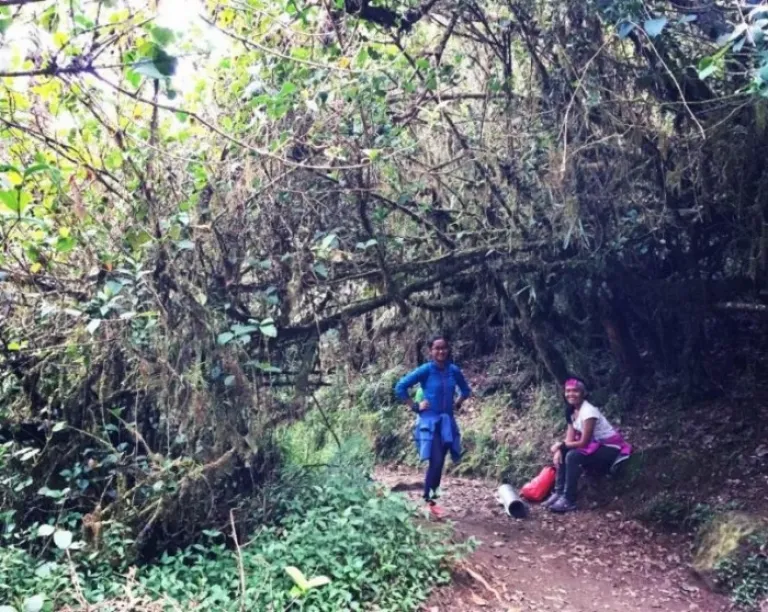
Second stage of forest: mossy forest
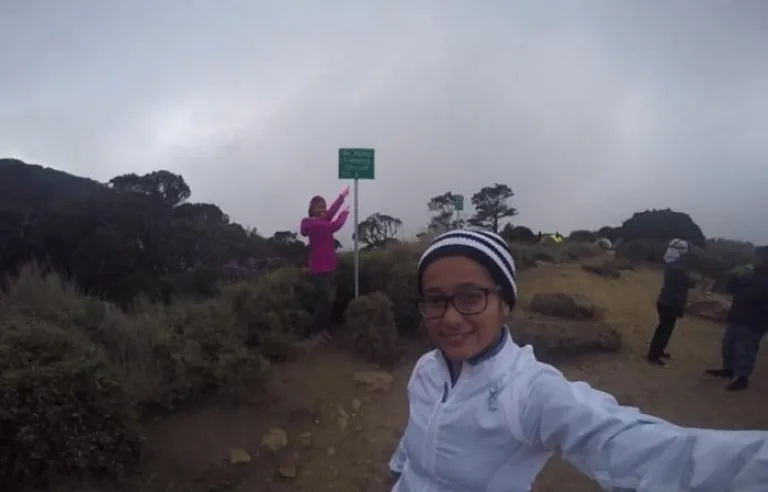
Stay overnight at Campsite 2
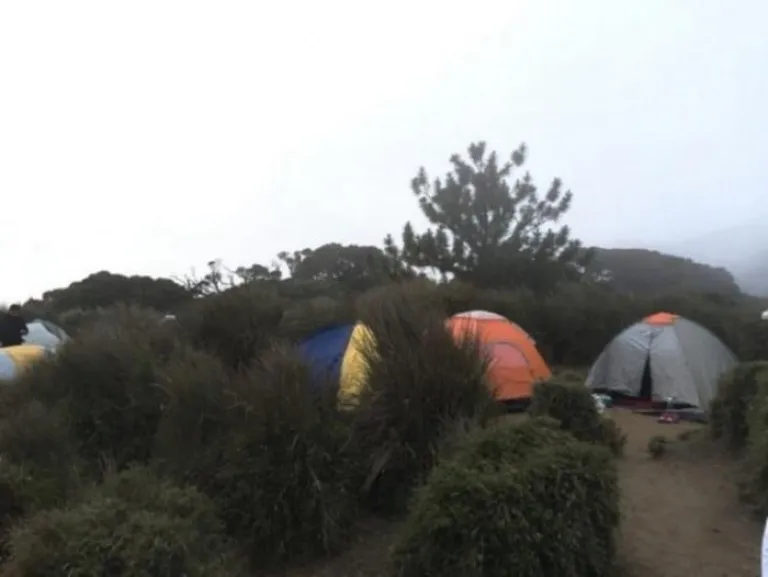
Tents at Campsite 2
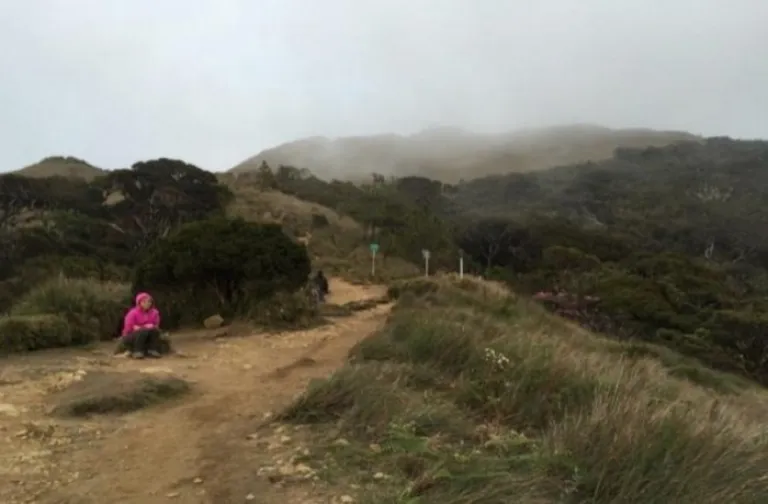
Cloudy and very cold
If camping is not permitted
Check into a homestay or bunkhouse near Babadak Ranger Station. Use the afternoon to eat, prepare your equipment and acclimatise to the elevation.
Your guide will confirm the wake-up time and departure schedule. Groups staying at the trailhead commonly begin walking in the early hours of Day 3 so they can reach the summit around sunrise.
Day 3: Sunrise at the summit → Babadak → Baguio → Metro Manila
The summit hike begins in darkness. Wear your layers before leaving and keep your headlamp within easy reach.
From an authorised campsite, the final ascent may take around one to two hours. From Babadak Ranger Station, expect a considerably longer predawn hike. Your guide will set the departure time according to your group’s pace, the weather and trail conditions.
Walk slowly and steadily. Although Ambangeg is considered Mt. Pulag’s beginner-friendly trail, the altitude, darkness and cold can make the ascent surprisingly demanding. Tell your guide immediately if you experience a severe headache, dizziness, nausea, unusual weakness, confusion or difficulty breathing.
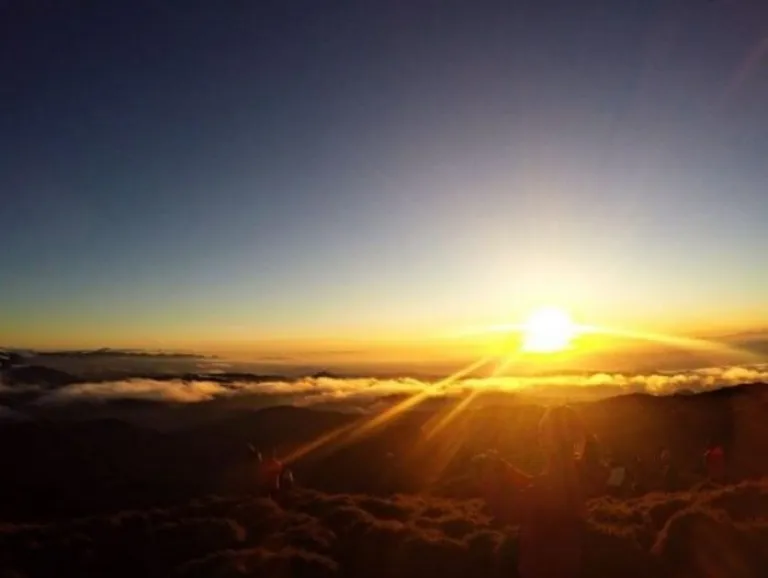
Sunrise and sea of clouds
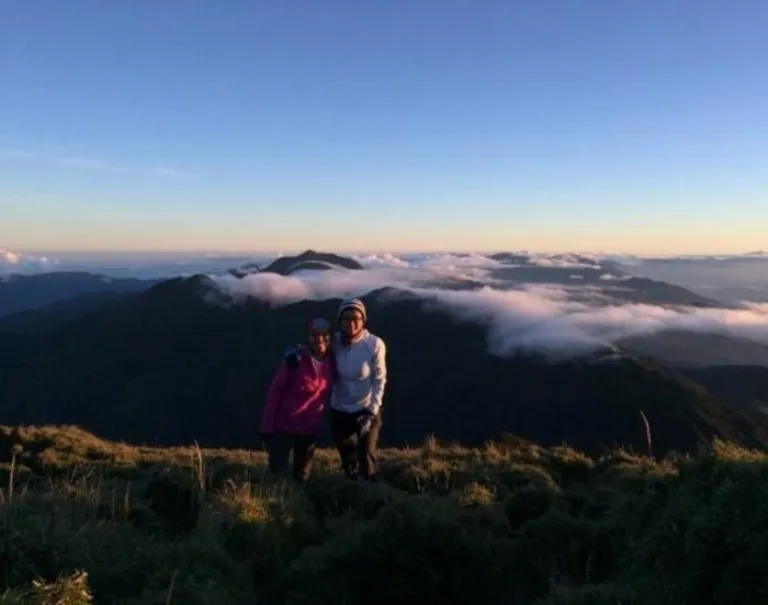
The views!
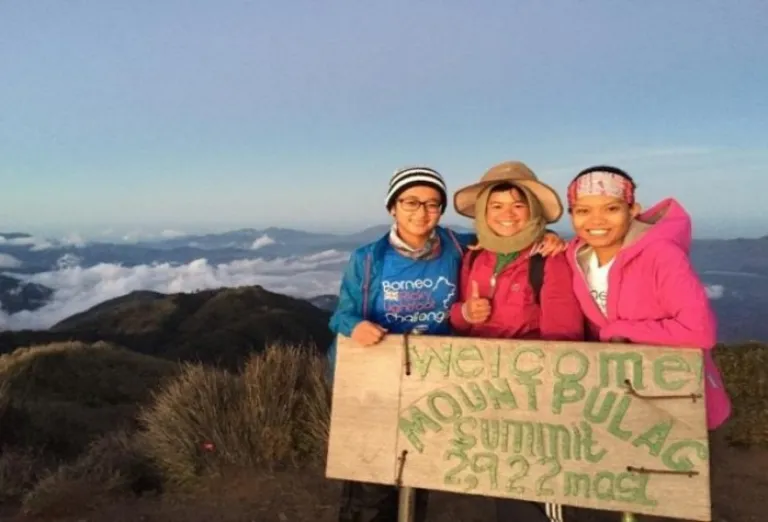
With our lovable local guide, Felicia
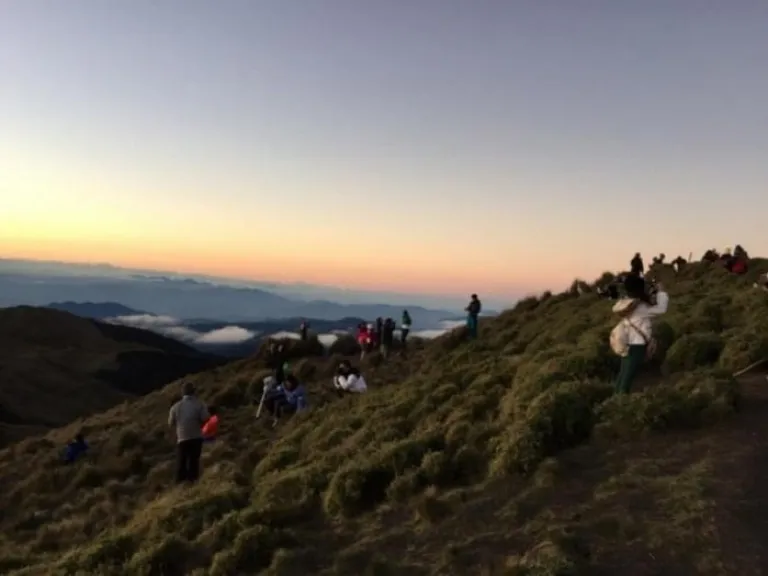
People busy snapping photos
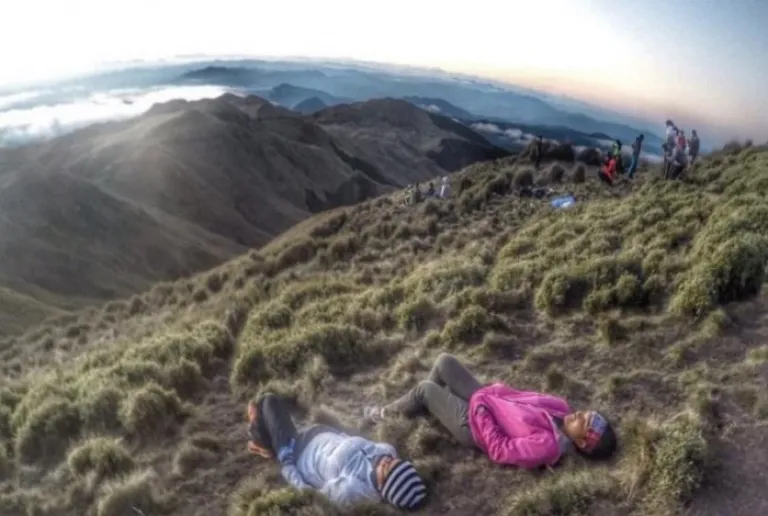
Taking our own sweet time
As dawn approaches, the surrounding mountains gradually emerge from the darkness. On a clear morning, clouds may collect below the summit, creating the celebrated “sea of clouds” that draws hikers to Mt. Pulag.
The view, however, is never guaranteed. Fog, rain and strong winds are all possible — and sometimes the safest decision is to turn around before reaching the summit.
After sunrise, begin the descent while conditions are manageable. Return to your campsite to pack up, or continue directly to Babadak if you stayed at the trailhead.
Once everyone has been accounted for, travel back to Baguio. Leave a generous buffer before your onward bus: Registration, mountain weather, road conditions and the group’s hiking pace can all affect your arrival time. If possible, spend another night in Baguio rather than rushing back to Metro Manila immediately after the climb.
The trip is challenging, cold and occasionally exhausting, but watching the Cordillera mountains appear at daybreak remains an unforgettable reward.
What to bring for your Mt. Pulag hike
Broken-in hiking shoes with good grip
Moisture-wicking base layers
Fleece or insulating mid-layer
Windproof and waterproof outer jacket
Hiking trousers
Warm hat or beanie
Gloves
Several pairs of socks
Headlamp and spare batteries
Drinking water
Trail food and energy snacks
Personal medicines and a basic first-aid kit
Emergency blanket
Sun protection
Rain cover or dry bags
Power bank
ID, medical certificate and booking confirmation
Reusable rubbish bag
Tent, sleeping bag and insulated mat if authorised to camp
Cookware only if camping arrangements permit its use
Pack for cold, wet and windy conditions even when the forecast appears favourable. Avoid cotton clothing, which retains moisture, and keep your summit layers dry until you need them.
Most importantly, follow your guide and the park rangers, stay on the designated trail and carry all your waste back down the mountain.

About Author
Noraini finds satisfaction in planning and thorough research prior to travelling. Outdoor activities such as hiking and exploring jungle excite her most. She is also a budget-minded traveller who travels with a backpack and is constantly looking for new adventurous places.